
If you’re a Lenovo laptop or desktop user and you want a secure, hidden space to back up your system or recover it when things go wrong, creating a Golden Key partition is one of the smartest moves. But what exactly is it? And how do you make it on Windows 11?
Let’s break everything down step by step no confusing tech jargon, no risky shortcuts, just a smooth and simple guide.
What is a Lenovo Golden Key Partition?
The Golden Key partition is a hidden recovery partition that many Lenovo devices come with by default. It’s like a secret backup room on your hard drive that holds the tools and files needed to restore your system to factory settings or a custom backup you create.
Think of it as your PC’s safety net when your system crashes, becomes infected with malware, or just gets too slow, you can press a specific key (like F11 or Novo Button) during startup and boot into this special recovery mode.
Why Create One Yourself?
Some Lenovo devices lose their original recovery partition during upgrades, disk formatting, or after reinstalling Windows. If this happens, you’re left without the built-in tools for quick system recovery.
By creating your own Lenovo Golden Key partition in Windows 11, you can:
- Keep a secure system image for emergencies
- Restore your system to a clean, fast state anytime
- Avoid needing third-party recovery tools
Prerequisites Before You Begin
Before we jump into the steps, here’s what you’ll need:
- A Lenovo PC running Windows 11
- Minimum 10–20GB of free disk space
- A Windows 11 ISO image or system backup tool
- Basic knowledge of disk partitions (don’t worry we’ll guide you)
Important: Backup your data before making changes to your partitions. Mistakes can erase your data if not done carefully.
Step-by-Step: How to Create a Lenovo Golden Key Partition in Windows 11
Step 1: Download Windows 11 ISO (if needed)
If you plan to store a fresh Windows installation in the Golden Key partition, download the latest ISO from Microsoft:
- Go to Microsoft’s Windows 11 download page
- Choose “Download ISO”
- Save it somewhere safe
Alternatively, you can use a third-party tool like Macrium Reflect or AOMEI Backupper to clone your current system.
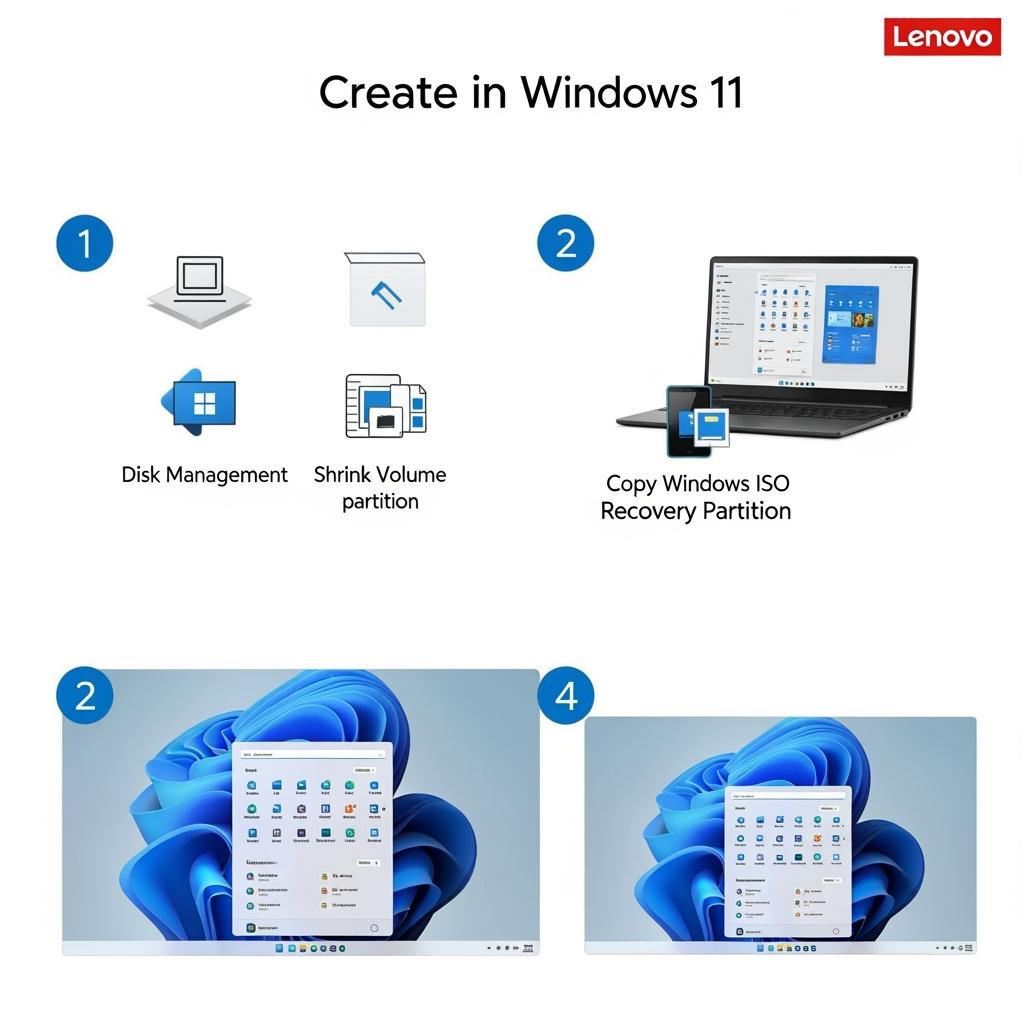
Step 2: Shrink Your Existing Drive to Make Space
To create a new partition, you need free space on your hard drive.
- Press
Win + Xand choose Disk Management - Right-click your C: drive
- Select Shrink Volume
- Enter the amount of space to shrink (e.g., 15000 for 15GB)
- Click Shrink
This will create unallocated space that you can now turn into a partition.
Step 3: Create the Golden Key Partition
Now you’ll turn that unallocated space into a usable, hidden partition:
- In Disk Management, right-click the unallocated space
- Select New Simple Volume
- Choose the entire size and assign a drive letter temporarily (like G:)
- Format it as NTFS, label it something like
GoldenKey - Click Finish
Later, you’ll hide this partition from Windows so it’s not visible to users or accidental deletion.
Step 4: Copy Recovery Files or System Image
Now it’s time to place recovery tools or a system image inside your new Golden Key partition.
Option A: Add a Clean Windows ISO
- Mount the Windows 11 ISO you downloaded
- Copy all contents to the Golden Key partition
- You now have a bootable installer in your recovery partition
Option B: Use a System Backup
If you used Macrium Reflect or AOMEI, store your recovery image and the tool’s boot environment in this partition. This lets you restore your exact system, apps, and settings.
Step 5: Make the Partition Hidden (Optional)
To prevent users from accidentally modifying or deleting this partition, you can remove its drive letter.
- Open Disk Management
- Right-click the Golden Key partition
- Select Change Drive Letter and Paths
- Click Remove
Now, it won’t appear in File Explorer but will still exist on the drive.
Step 6: Enable Boot Access (Advanced Users)
This part is optional but helpful: You can make your Golden Key partition bootable during startup.
Method 1: Add it to the Boot Menu
Use EasyBCD (a free boot configuration editor):
- Download and install EasyBCD
- Go to “Add New Entry”
- Choose ISO or a custom recovery environment from the Golden Key partition
- Label it something like “Lenovo Recovery”
- Save settings
Now, on reboot, you’ll see an option to launch your recovery partition.
Method 2: Use the Lenovo Novo Button
Some Lenovo devices have a small button (near power or on the side) called Novo. Pressing this opens a special boot menu.
If your Golden Key partition is set up correctly, Lenovo’s boot loader may detect and launch it.
Note: This behavior depends on BIOS and OEM settings it doesn’t work on all models manually. If you lost Novo recovery, the EasyBCD method is your best alternative.
Bonus Tips for Managing Your Golden Key Partition
- Keep it updated: Refresh your system image monthly if you want an up-to-date recovery
- Don’t fill it with other files: It should only hold recovery data
- Use encryption: Tools like BitLocker can secure the partition
- Label it clearly: If it’s not hidden, give it a name that reminds you not to delete it
What If You Mess Up?
Don’t panic. If something goes wrong:
- You can always delete the partition and start again
- Use system restore or a USB recovery drive if you can’t boot
- Lenovo also offers a recovery image download from their support site
Why This Matters for Lenovo Users
Creating a Lenovo Golden Key partition in Windows 11 isn’t just about convenience it’s about protection. Many Lenovo users lose access to their original recovery tools due to upgrades, SSD replacements, or fresh installs.
By setting up your own recovery system, you’re taking control of your PC’s safety. Whether you’re a student, office worker, gamer, or casual user, having a custom recovery partition is a smart move.
Conclusion: Peace of Mind in a Partition
With just a little planning, you’ve now got a personalized Golden Key partition on your Lenovo device that can rescue your system when things go wrong. It’s hidden, secure, and ready to launch whenever needed.
It doesn’t matter if you’re tech-savvy or a beginner anyone can follow this guide and take full advantage of a built-in recovery tool that even some advanced users overlook.
Now that you’ve learned how to create a Lenovo Golden Key partition Windows 11, go ahead and set it up. Your future self will thank you when trouble strikes and you’re just one reboot away from a clean, working system.